How Do I Set Up and Install My Kiln?
Bringing home a new kiln is exciting, but proper installation is crucial for safety and performance. Of prime importance are ensuring clearance space, avoiding common fire hazards, and safely test-firing your kiln before using it for your prized pieces. Whether you’re setting up in a home studio or a dedicated space, taking care with installation and setup will lead to more successful firings.
Over the past few months, we’ve talked through some of the things to look for when you’re shopping for a new kiln. But what happens when your new kiln arrives?
Shopping for a kiln is exciting, but it pales next to the thrill of installing and setting up your own kiln in your own workspace. But a kiln isn’t like a new TV or blender – you can’t just plug it in and rock and roll.
Installing a kiln requires some forethought and planning to ensure that your new pottery tool is safe and does not create hazards that could jeopardize your studio or your life. In this article, we’ll give you some tips and other advice to help you get your new kiln up and running smoothly and safely.
Find the Right Place for Your Kiln
Your kiln generates an incredible amount of heat. If you live in the southern US, your kiln may well create considerably more heat than your home’s central heating system. So, there are some safety and efficiency concerns to keep in mind when you’re siting your kiln.
Place Your Kiln Outside of Your Home
Kilns, when used correctly and responsibly, are incredibly safe – but when you’re dealing with the kinds of temperatures that kilns produce, you absolutely don’t want it inside the house – for a couple of good reasons:
- On the extremely rare chance that your kiln overheats and does start a fire, you don’t want that fire to break out inside your home.
- Even if you never experience a mishap, running a kiln inside your home – especially during the summer – will send your energy bills through the roof as your air conditioner tries to remove the heat that your kiln is pumping into your living space.
Place Your Kiln on a Non-Combustible Floor
Heat rises, but that doesn’t mean that the floor underneath your kiln isn’t going to get hot. Placing your kiln on carpet, vinyl flooring, or a wooden floor is just asking for trouble. If conditions are right and your kiln overheats while it’s sitting on a combustible floor, the risk of “autoignition” – what occurs when something gets so hot that it spontaneously combusts – increases dramatically.
Even if your kiln doesn’t start a fire, it could very easily singe or melt carpeting and vinyl, and it will absolutely wreak havoc on even the hardest varnishes or paints you can put on a wooden floor.
Place your kiln on a surface that can’t or won’t easily catch fire. Concrete, brick, and ceramic or travertine tiles are great surfaces for a kiln that dissipate heat and won’t burn even if the kiln overheats. Be careful, though – a lot of “stone” floors are actually a vinyl product called LVT or LVP – luxury vinyl tile/plank. Make sure that the tile or stone you’re setting your kiln on is actually non-combustible before you set your kiln up.
Give Your Kiln Plenty of Space
Just like there are a couple of reasons not to put your kiln in the house, there are a couple of reasons to make sure it has at least 18” of clearance on all sides. For one thing, you don’t want an overheating or other condition to cause a wall to catch fire.
But beyond that, your kiln has to be able to breathe. Even a system that’s literally designed to create intense heat must get rid of some of that heat while it’s in use – otherwise, it will rapidly exceed its design temperature and fail.
If you enclose your kiln too tightly within a niche or recess, without adequate clearance, the kiln will not be able to sink heat as effectively as it otherwise would and is far more likely to overheat and experience a failure.
Make Sure Your Power/Fuel Supply Is Ready
If you’ve opted for an electric kiln, make sure that your kiln’s location has the proper wiring to handle the kiln’s electrical load. In addition to making sure you have the right voltage at the kiln site (120 single-phase, 220 single-phase, or 3-phase at either 227 or 480 volts), you also need to verify that the wiring that supplies the outlet or junction box where your kiln connects is up to the job. If you have questions or need a different power supply installed, contact a qualified electrician.
If you’ve opted for a gas kiln, make sure that you have the right gas-line connectors and that the gas connection in your studio is equipped with an easy-to-access cutoff valve so that you can quickly shut off the gas supply in the event of a leak or fire.
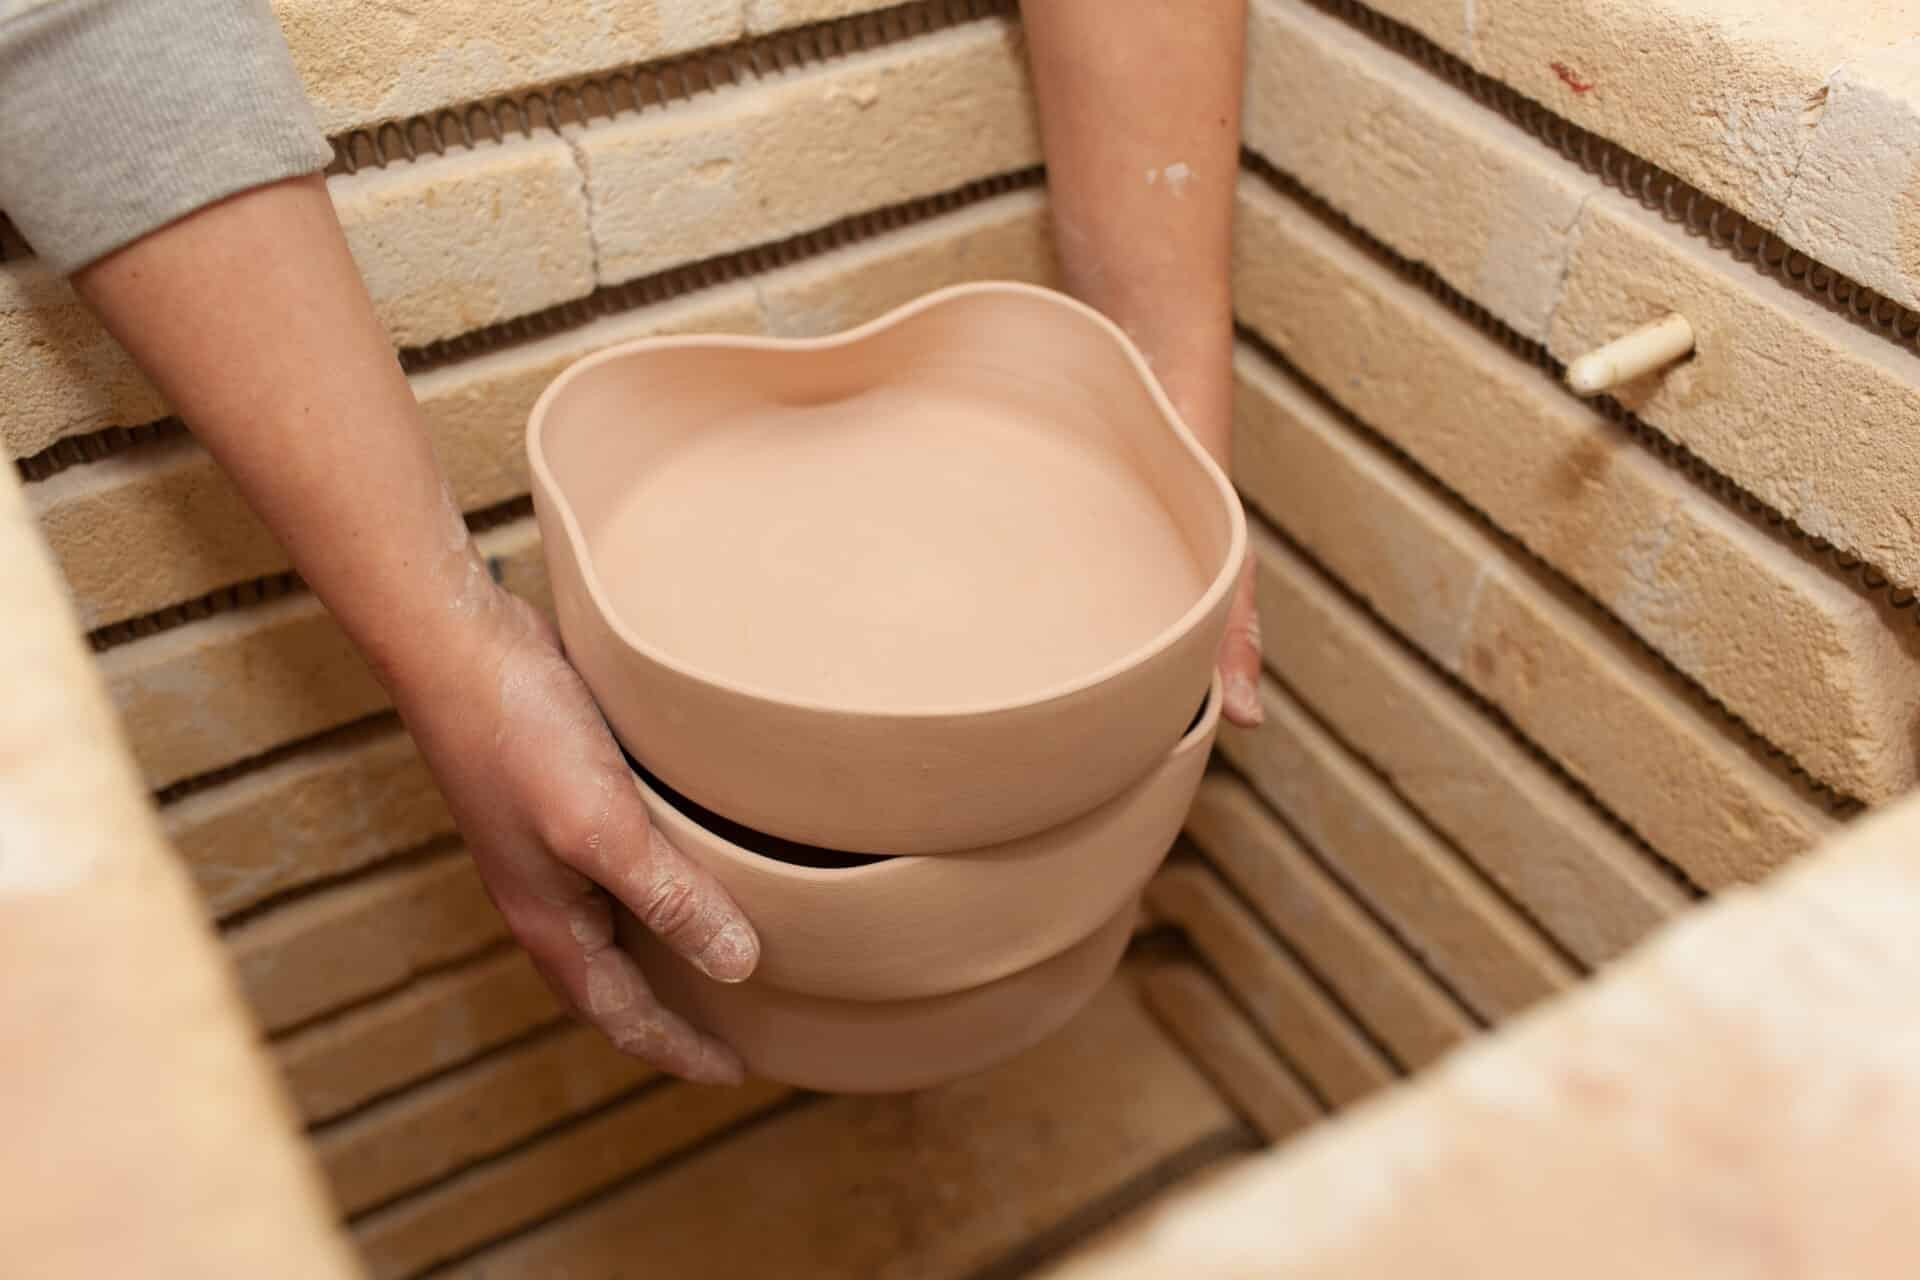
Set Up Your Kiln and Test-Fire It
Once you’ve got your kiln set in its place and safely hooked up to its power/fuel supply, it’s time to set it up and give it a spin! Read the manual that came with your new kiln – don’t scan it or jump ahead to the parts you’re interested in. Your manual will provide you with step-by-step instructions for setting up your kiln and getting it ready to use. Steps may include things like:
- Setting up your specific firing programs or profiles
- Calibrating the kiln’s thermostat
- Performing a low-temp “burn off” or “break in” firing to burn any manufacturing debris or residue off the heating elements
Once everything is set up, it’s time to run a true test of the kiln. Load it with some projects (that you don’t mind losing if the firing doesn’t go just right) and run them through a firing cycle. If you encounter any problems with your test batch, check the operating manual’s “Troubleshooting” section, or visit the manufacturer’s website to find solutions.
Once you’ve had a successful test batch, you’ll be ready to start slinging and firing your craft to its next level!
Call Us Today at 888-838-3625 or Email info@clay-king.com for Guidance and Assistance on Selecting, Buying, and Installing Your New Pottery Kiln!
When you want to up your pottery-making game with a new kiln for your studio at home or in a commercial or industrial space, let Clay-King be your guide! We carry kilns of all sizes and shapes from brands like Skutt, L&L, Olympic, Evenheat, Cress, and Amaco. We’ll be glad to talk you through your options and help you zero in on the kiln that will take pottery production to the next level.
Call us today to get started on your kiln-shopping journey: 888-838-3625
Recent Articles:
What Are the Types of Kilns I Can Get for My Studio?
How to Prolong the Life of My Ceramic Kiln or Glass Kiln
Choosing Your First Kiln: A Beginner’s Guide