Everyone knows that one of the best parts of Autumn, and Winter is when you get to curl up with a nice, warm bowl of soup. But what if that soup came in a handmade ceramic bowl that was made by you? That sounds like it would make someone’s day, right? To make sure your bowls make someone’s day as bright as possible, here are five tips for making the perfect ceramic soup bowl on the pottery wheel.

1. Start with a ball of clay that’s about the size of your fist or a little larger (under 1.75-2lbs is generally ok for normal soup bowl size). A stoneware or earthenware clay would both be well. A selection of the best types of pottery clays can be found here. Center the clay on your pottery wheel, forming the clay into a puck or dome shape.
Tip: Anchor your left elbow into your hip, and against your splash pan for the most leverage while centering. Always imagine a straight line extending out from your left forearm through your palm- this line should always cross the center of your clay ball. At the same time your right hand should be trying to press the clay directly into the center of the wheel head.
2. Insert your fingers into the clay and open it up wider, making sure to lift your hands up slightly as you move away from the center. This will create a satisfying curve to the interior of your bowl rather than a flat bottom. If you have an uneven curve, don’t worry! We’ll cover how to fix it in the next step.
Tip: Leave about ¼ – ½ inch of clay at the bottom. You’ll want a sturdy base, that isn’t too thin. You can always trim it up later.
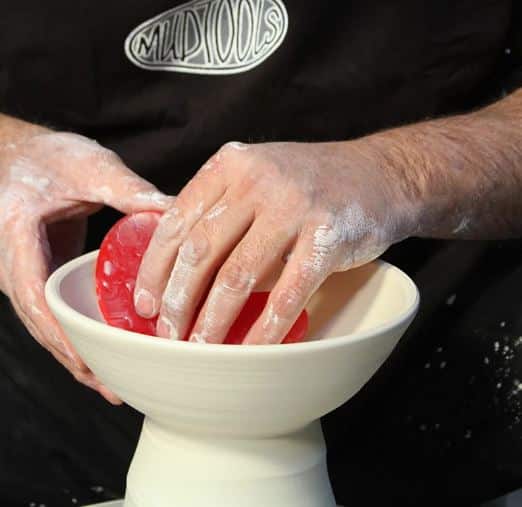
3. When you begin to pull the clay upwards creating the shape, start your pulls from the center of the bowl- if you begin your pulls where the wall meets the floor, you’ll create a wall and a floor; a good bowl should have a seamless and curved slope. To help create the perfect curve, we suggest using a bowl rib! The Sherrill Mudtools Bowl rib is perfect for this job!
Advanced tip: You can do “micropulls” on the outside of the clay while holding the rib on the inside. While shaping the interior with the rib, follow the line of the rib with your outside finger, or even another rib to refine your form even more.
4. Clean your rim with a finishing sponge, chamois, or just piece of plastic. Taking the time to make your rims smooth will be pleasing when its time to drink the last drops of your favorite seasonal soup.
Staff Pick: the White Mudsponge is flexible and fine enough to shape and smooth silky soup bowl rims.

5. Finally, once your bowl has dried it is time to trim! Carve away excess clay with your favorite trimming tools trying to match the wall thickness with the thrown portion of the clay.
If you’re throwing lots of bowls, the mini giffin grip will help you center and trim them quickly! Then once it’s been fired and glazed, it’s ready to be used! Now all you need is some delicious soup to fill it up with. Yum!
With these five tips, you’ll be well on your way to making beautiful and functional ceramic soup bowls that will make winter just a little bit cozier. So what are you waiting for? Get started today! We made this blog to coordinate with Day 6 of #Oc-Throw-ber created by ceramic artist and teacher Hope Limyanksky-Smith